Integrations
The Integrations tab lets your agent pull live data from external services during a conversation. Once connected, the agent automatically calls the right service when a visitor asks a relevant question — no manual trigger needed.
Go to your agent → Integrations to set up any of the services below.
Plan availability: calendars (Cal.com, Calendly) and shipping carriers are available on Base and above. E-commerce, CRM, and payment integrations require Business and above. See Plans & Billing.
Scheduling
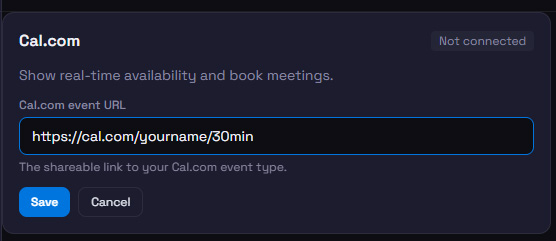
Cal.com
Lets the agent show available time slots from your Cal.com calendar.
- In Cal.com, open the event you want to share and copy its public URL (e.g.
cal.com/yourname/30min). - Paste the URL into the Cal.com Event URL field and click Save.
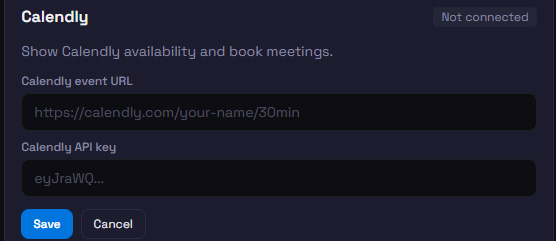
Calendly
Lets the agent show available slots from your Calendly calendar.
- Copy the event URL from Calendly (e.g.
calendly.com/yourname/30min). - Go to Calendly → Integrations → API & Webhooks → Personal Access Tokens and generate a token.
- Paste both the event URL and the token, then click Save.
The token is required because Calendly's availability API is authenticated. It is stored encrypted and never exposed to visitors.
E-commerce
When an e-commerce integration finds matching products, the results appear as a swipeable product carousel in the chat — image, name, price, and a link — not just plain text.
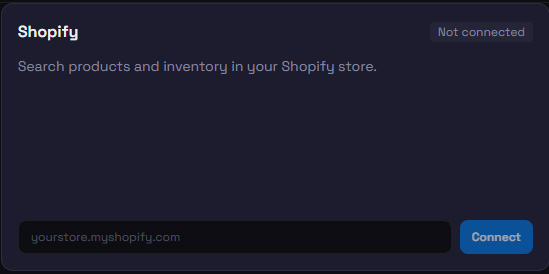
Shopify
Lets the agent search your product catalog and look up a customer's order status — payment, fulfilment, and tracking number. Before sharing any order details it asks the customer to confirm the phone or email used on the order, so no one can look up someone else's order.
- Enter your store domain (e.g.
mystore.myshopify.com) and click Connect Shopify. - Authorize access on Shopify and approve the requested permissions.
- After approval you're redirected back and the integration shows as Connected.
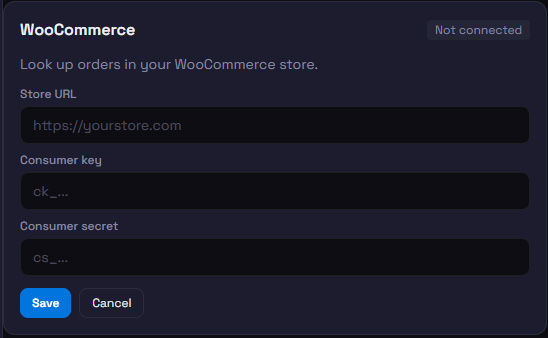
WooCommerce
Lets the agent look up order status and details by order number.
- In WordPress, go to WooCommerce → Settings → Advanced → REST API and click Add key.
- Set permissions to Read, generate the key, and copy the Consumer Key and Consumer Secret.
- Enter your store URL and both keys in BotChata, then click Connect WooCommerce.
PrestaShop
Lets the agent search your product catalog.
- In PrestaShop admin, go to Advanced Parameters → Webservice and enable the webservice.
- Add a new key with read access to products, and copy the generated API key.
- Enter your store URL and the API key in BotChata and click Save.
Shoper
Lets the agent search your Shoper store catalog.
- In your Shoper admin, create API access (an application user) under the API settings.
- Enter your store URL and the API credentials in BotChata and click Save.
Magento
Lets the agent search your Magento catalog.
- In Magento admin, go to System → Integrations and create an integration with catalog read access.
- Copy the Access Token.
- Enter your store URL and the token in BotChata and click Save.
Shipping & tracking
All shipping integrations work the same way: the agent asks the visitor for their tracking number and returns the current shipment status directly in the chat.
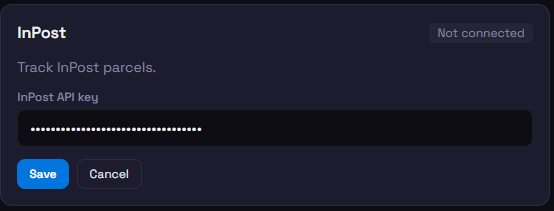
InPost
- Log in to InPost Manager and go to API.
- Generate or copy your API key.
- Paste it into BotChata and click Save.
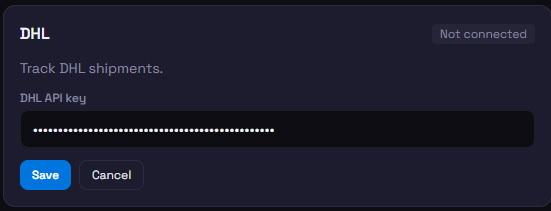
DHL
- Register at developer.dhl.com (free tier available).
- Create an app and copy the API key.
- Paste it into BotChata and click Save.
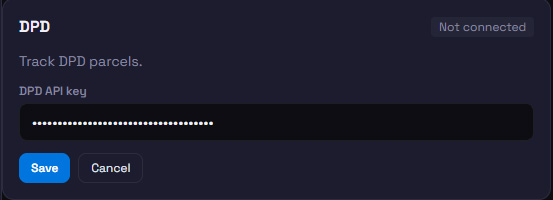
DPD
- Contact your DPD account manager or register at developer.dpd.de to obtain an API key.
- Paste the key into BotChata and click Save.
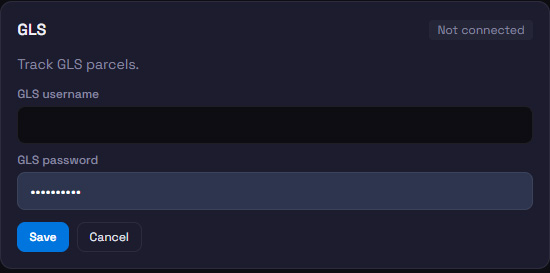
GLS
- Log in to your myGLS Business account.
- Use the username and password from your myGLS Business credentials.
- Enter both fields in BotChata and click Save.
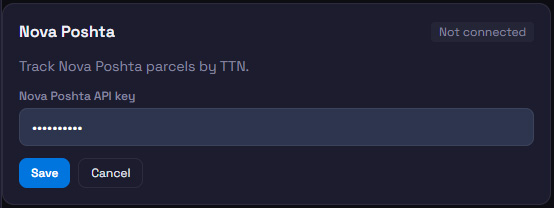
Nova Poshta
- Open the Nova Poshta personal cabinet and go to Settings → API.
- Copy your API key.
- Paste it into BotChata and click Save.
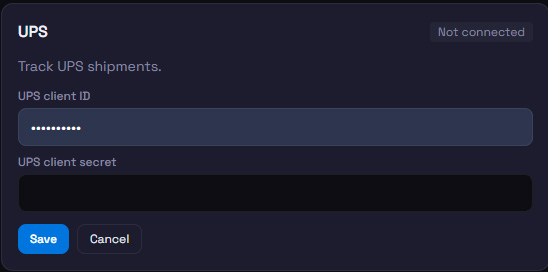
UPS
UPS uses OAuth2 client credentials.
- Register at developer.ups.com and go to My Apps → Create App.
- Copy the Client ID and Client Secret.
- Enter both in BotChata and click Save.
BotChata automatically exchanges credentials for a bearer token and refreshes it before it expires — no manual token management.
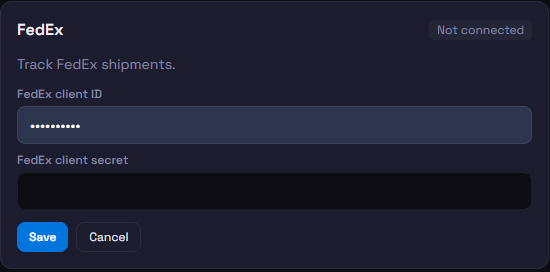
FedEx
FedEx also uses OAuth2 client credentials.
- Register at developer.fedex.com and go to My Projects → Create Project.
- Copy the Client ID and Client Secret.
- Enter both in BotChata and click Save.
CRM
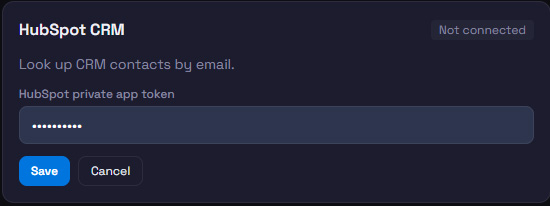
HubSpot
Lets the agent look up a contact in your CRM by email address.
- In HubSpot go to Settings → Integrations → Private Apps and create a new app.
- Grant at minimum the
crm.objects.contacts.readscope. - Copy the Private App Token (starts with
pat-). - Paste it into BotChata and click Save.
The agent returns the contact's name, phone, and company — sensitive internal fields are automatically filtered out.
Pipedrive
Lets the agent look up a person or deal in your Pipedrive CRM.
- In Pipedrive go to Settings → Personal preferences → API and copy your API token.
- Enter your company domain and the token in BotChata and click Save.
Payments
Stripe
Lets the agent check recent payment status for a customer by their email address.
- Open Stripe Dashboard → Developers → API keys.
- Copy the Secret Key (
sk_live_in production orsk_test_in test mode). - Paste it into BotChata and click Save.
Use a Restricted key with only
charges: readpermission for better security.

Tips
- Multiple integrations can be active at once. The agent picks the right one based on what the visitor is asking.
- Disconnect anytime by clicking the red Disconnect link under a connected integration — stored credentials are deleted immediately.
- Credentials are encrypted with Fernet (AES-128) before storage and are never returned to the browser.
- Each integration card has a Test connection button — use it to confirm your credentials work before going live.
- If an integration call fails during a conversation (e.g. the API is down), the agent falls back to its trained knowledge and tells the visitor it couldn't fetch live data.